YANUZIELLO MILANO SERIES 1/10 BIANCA
questions/answers with Joe Yanuziello, December, 2018
Q - What inspired this new Milano series?
A - Earlier this year I received a call from my friend Kevin Breit, a monster musician, songwriter and guitar player. Kevin has eight of my instruments, and it's always interesting to hear what he has in mind. The call was to see if I would be into building an electric guitar in the style of an old Premier electric, one of those funky ones with the scroll on the upper bass bout, model E -781.
I don’t usually do copies of electrics, but in this case, and for Kevin, and the fact that I was already a fan of that model anyway, I was willing to do a version of this guitar for him.
A few days went by and Kevin called me up to ask me if I would make something like the Premier but use my electric body shape instead. After the call, the wheels started turning and the electric started taking shape based on the details and idiosyncrasies of electrics made in Europe and Italy in the '60s. Electrics like Wandre, Eko, Goya Galanti, etc. were my inspiration.
What appealed to me about these odd creations were how they used interesting hardware and pickups, and their outrageous material choices. Lots of different plastic details, rocker switches, oddball metal tailpieces and other aluminum and plated metal parts that you would never see on an American made electric in the '60s. The lacquer paint finishes, and pearl plastic coverings were equally outrageous, very flashy and loud.
So I started to get an idea of what I wanted to see on this prototype guitar for Kevin. His criteria was clear from the beginning; 1) it had to have Mojo Dual Foil humbucking pickups, 2) it had to have a solid body (my electrics are hollow), and 3) it had to have a 25-1/2" scale length.
I was fine with his requests, in fact I was looking forward to using my established electric guitar shape as an opportunity to do some modifications to an electric format that I designed way back in 1982.
Q - Why did you decide to go with a solid body instead of your usual hollow body electric?
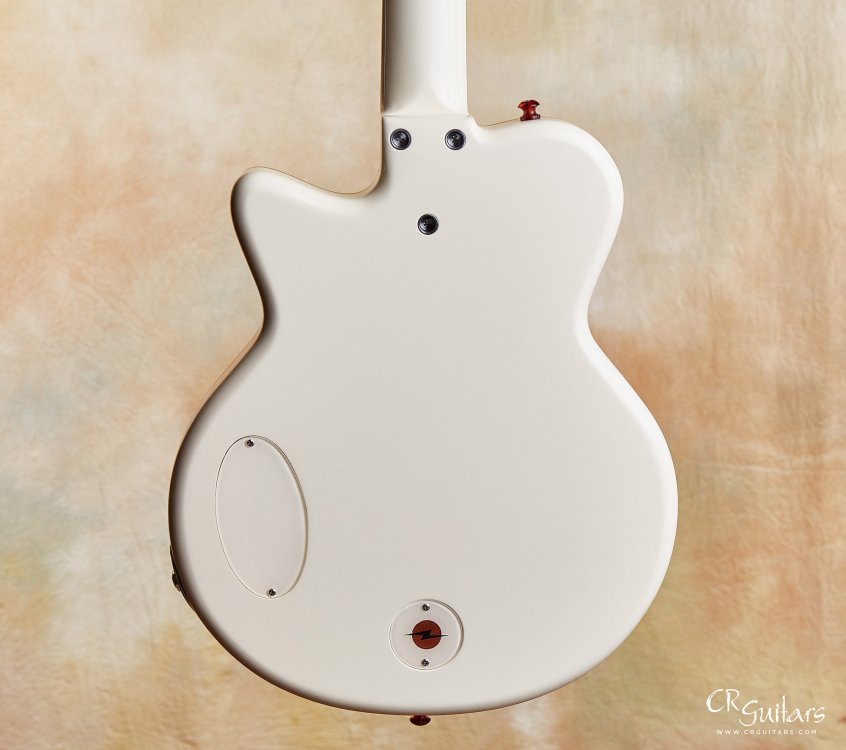
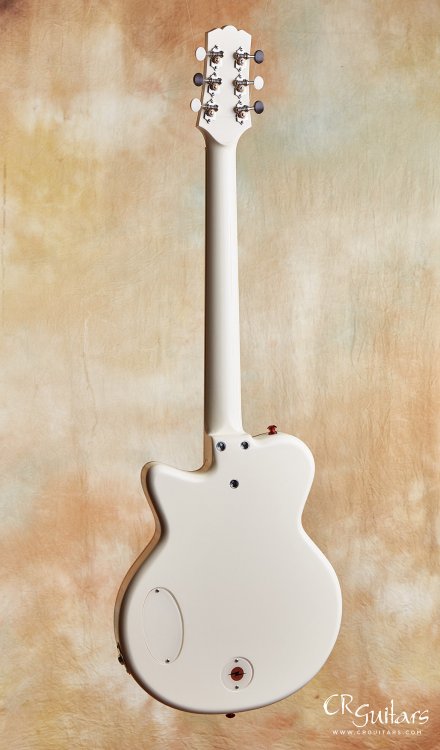
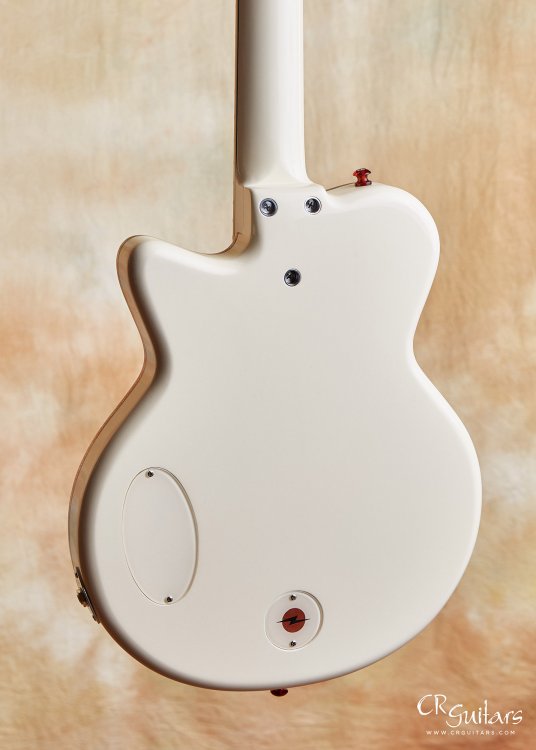
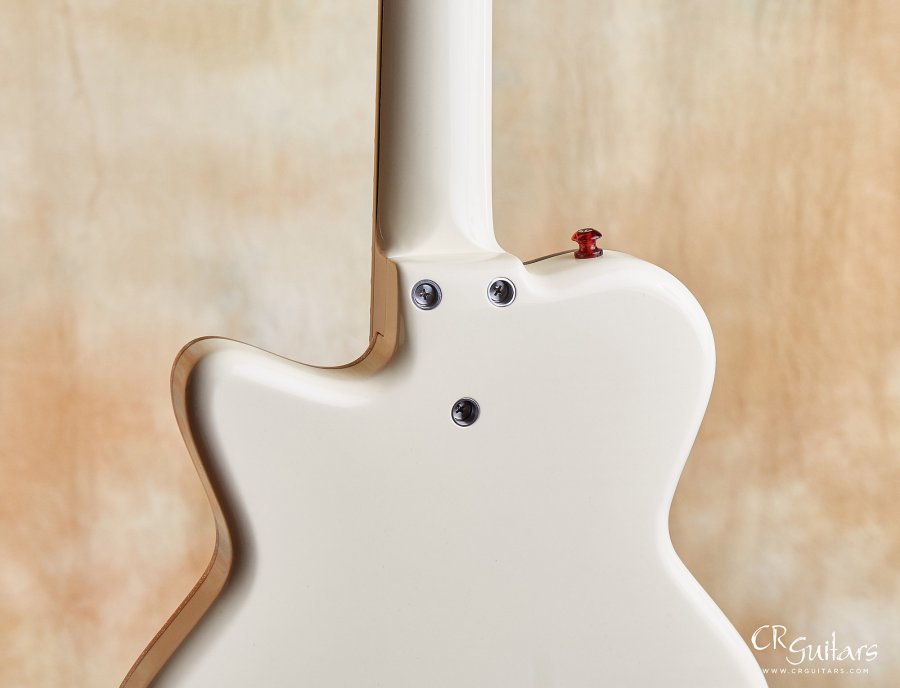
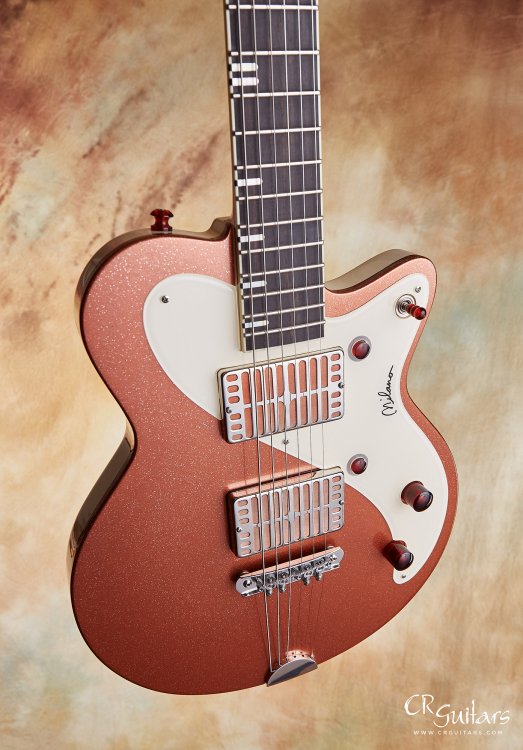
A - This was Kevin's idea for his electric which I'm now using as the template for the Milano series. It's been years since I've made one of my electrics as a solid body so I was keen on changing it up. The mahogany one piece body is thinner as well, it measures 1-5/8" and has a generous radius on the back edge of the body, and I contoured the back of the body on an angle at the neck joint. It looks good and it's ergonomic.
Q - Describe some of the details which make the Milano unique.
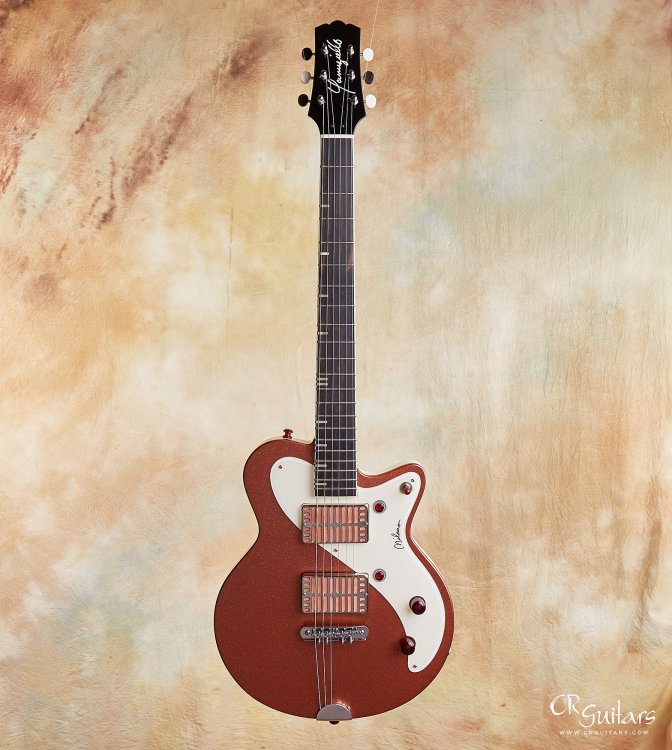
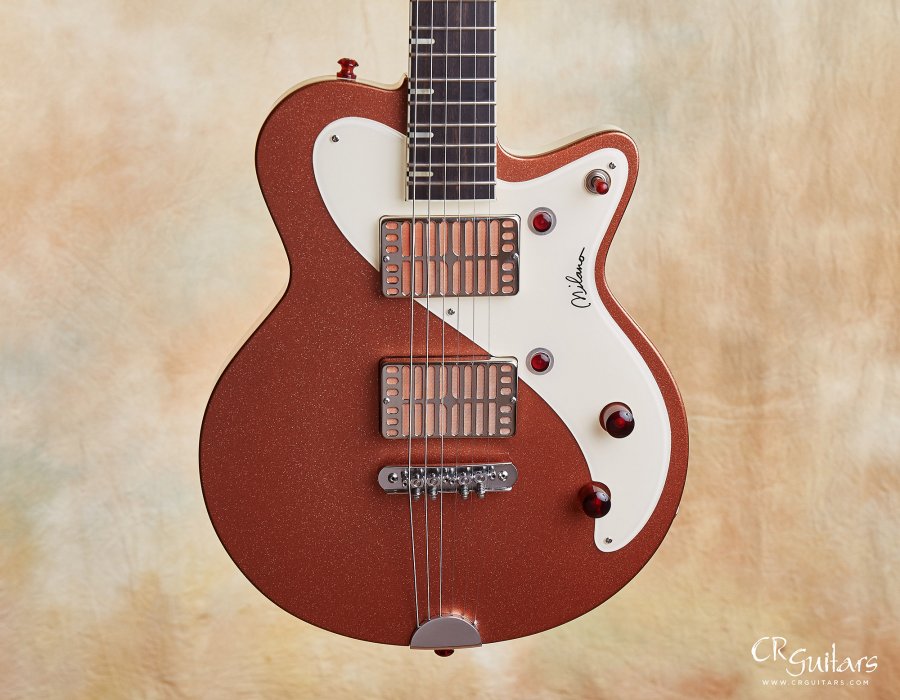
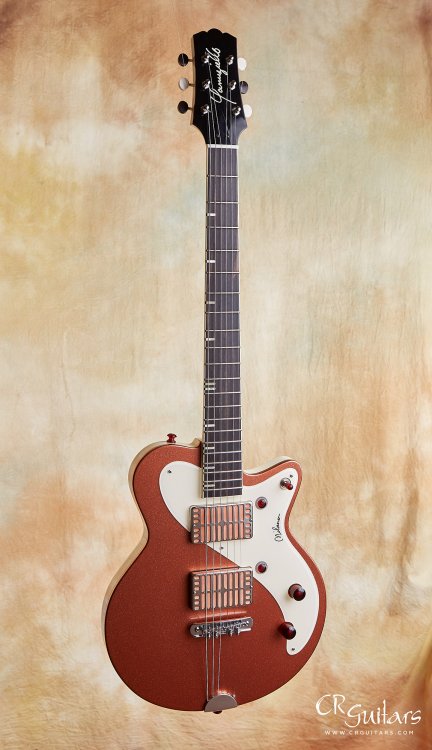
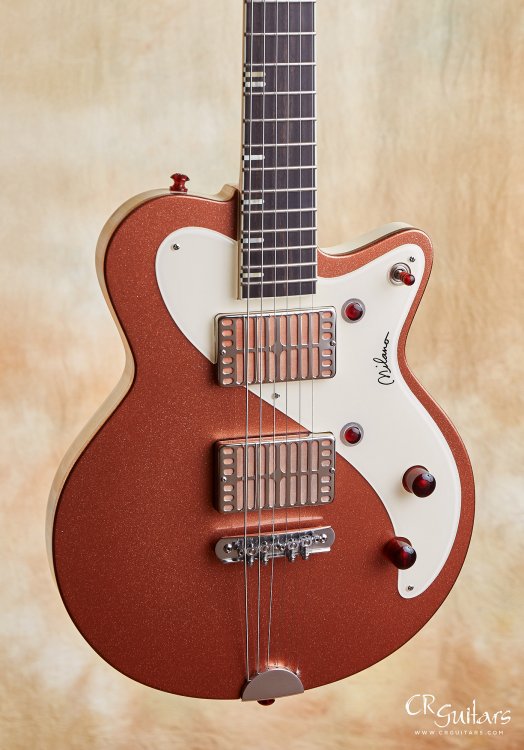
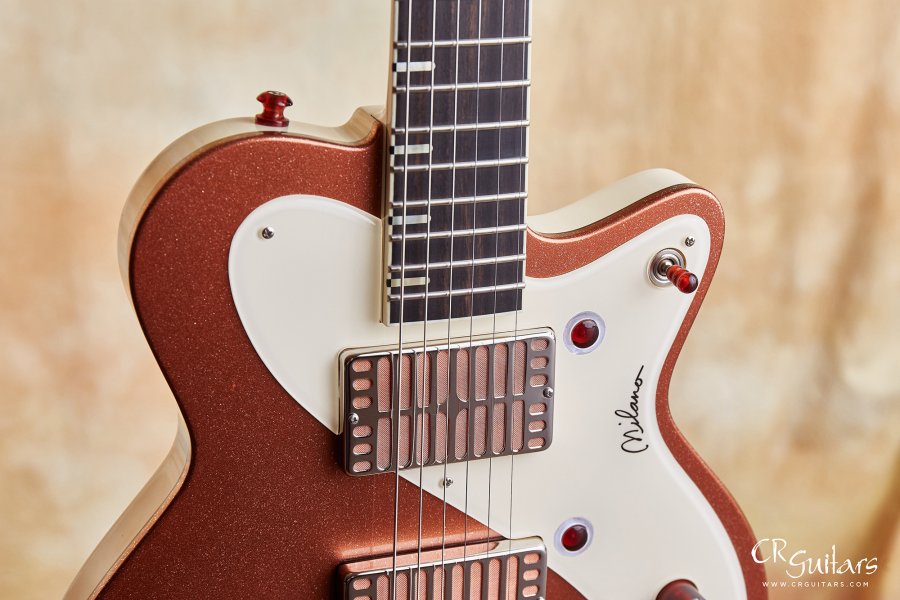
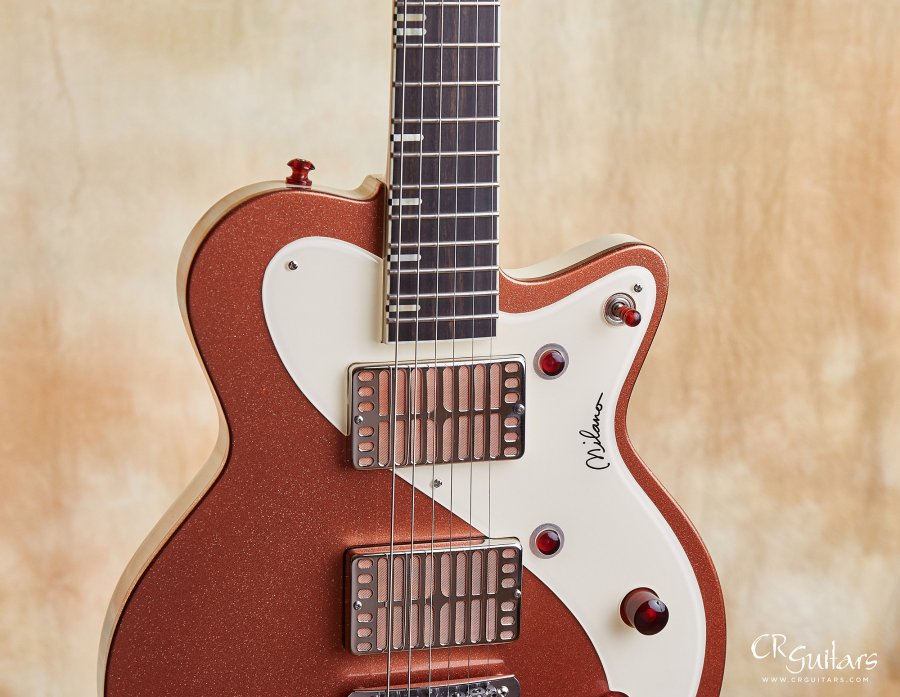
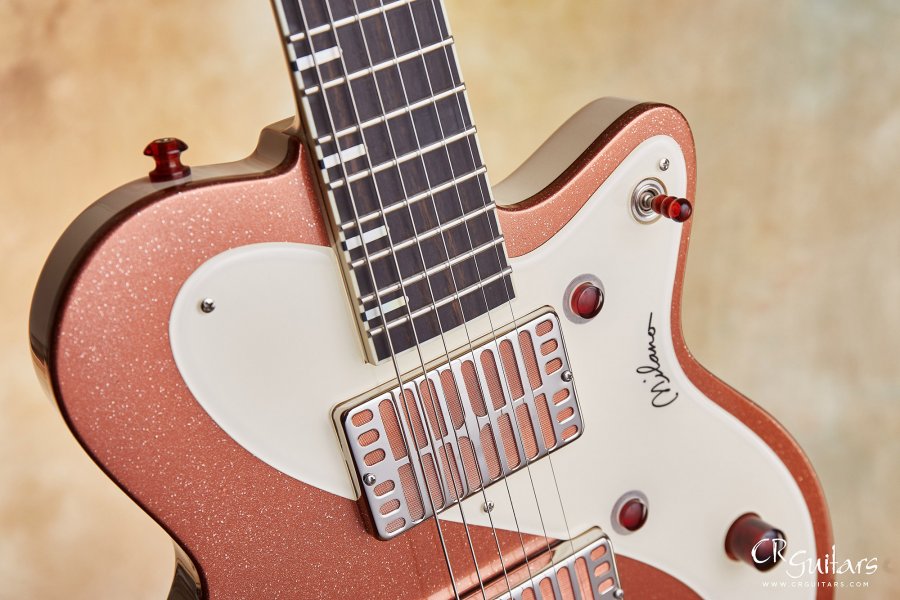
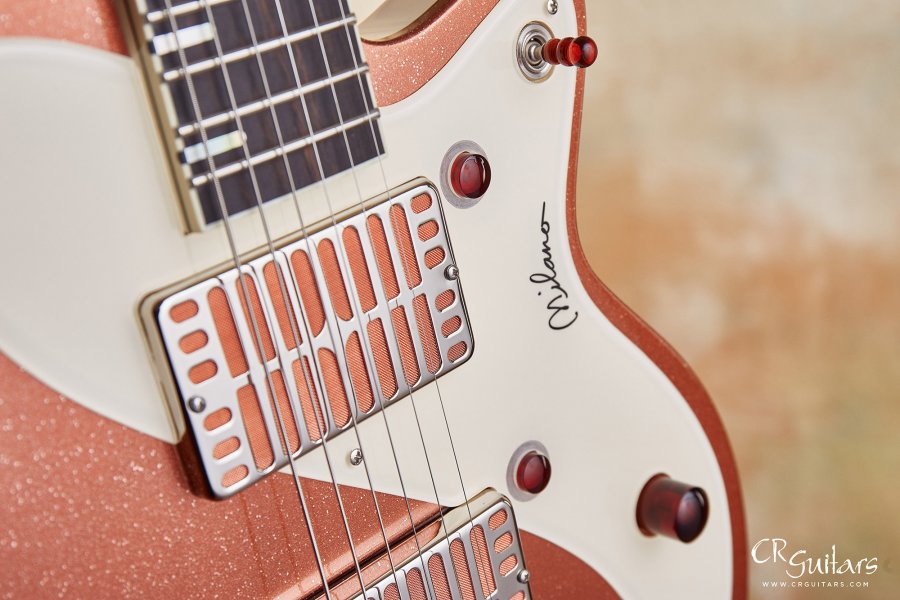
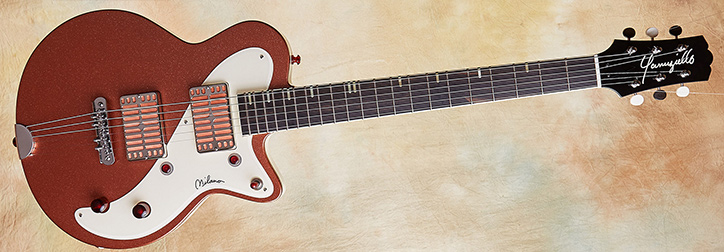
A - A number of things distinguish this Milano series from my regular electrics, and from other guitars in the market as well. Early on in the design process I felt that the pickguard should be fairly thick plexiglass, 1/8". I like the way the light reflects and refracts on the smooth polished radius on the edge, especially when it's back painted. My friend and local genius Mark Kett, engraved the Milano script into the back of the pickguard. I also wanted the pickguard to cover all of the electronic controls, including the LED lights on the coil split buttons, without being attached to any of them. So the volume, tone and three way toggle switch all sit in specific holes in the pickguard with about a 1/16" space around them. You can see the color of the top around the control knobs.
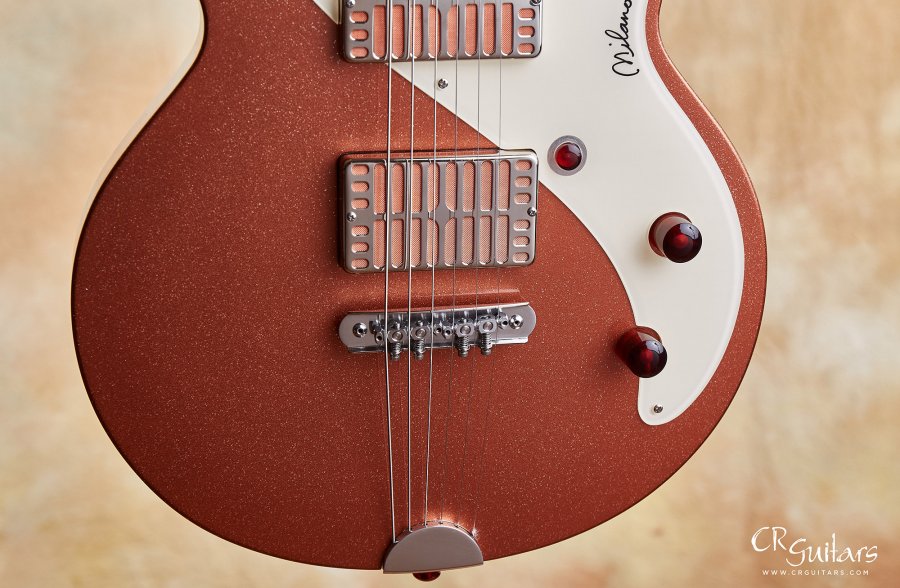
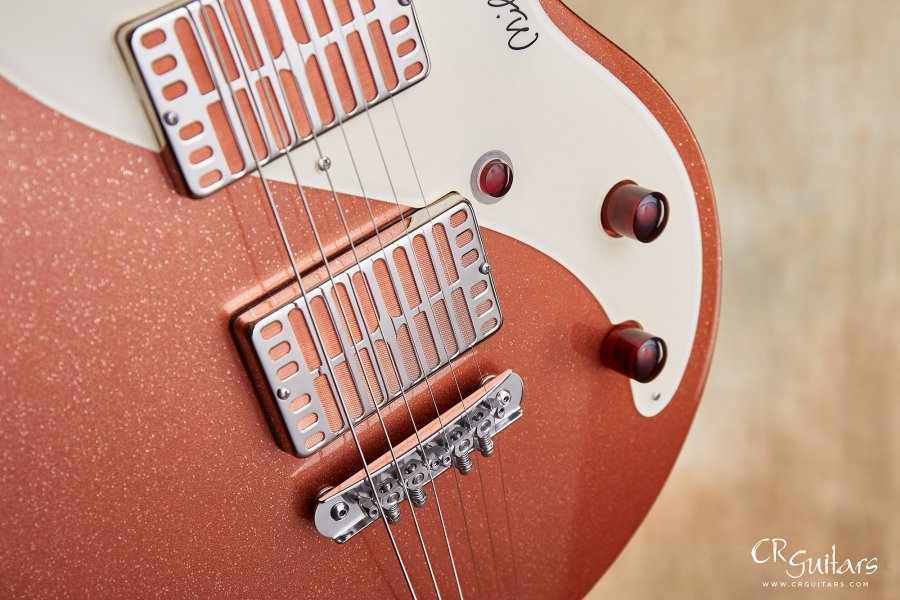
I like to design and make my own hardware and the polished aluminum Milano tailpiece was the first thing I came up with. It's routed flush into the back of the body and rises up on a slight angle on the top front edge where the strings come out. The strings splay out and up over the bridge. I don't have milling equipment so everything that I fabricate is done with non-ferrous metals using the table saw, drill press and lots of hand filing, sanding and polishing. It's very labor intensive but very rewarding for me to have unique hardware on my instruments.
The plastic parts are another aspect that sets these instruments apart. Once I have the color scheme for the guitar, I cast thermal setting resin into a 1" by 1" by 6" block. I pick a color that works with the general theme and dye the resin as it's being mixed. I can control the depth of color and the translucence to suit. From the cast block I can machine the vol/tone knobs as well as the strap buttons, coil split buttons and the toggle switch tip. This Milano had a translucent dark amber color for the plastic parts.
The switch tip idea came from me looking at old Gaggia lever espresso machines online. I came across a few that had this beautiful bakelite plastic handle in the shape of three or four spheres strung in a row, almost like an old bicylcle handle grip. I had a big - that's it! - moment, went out to the shop and made one to try out on a toggle switch.
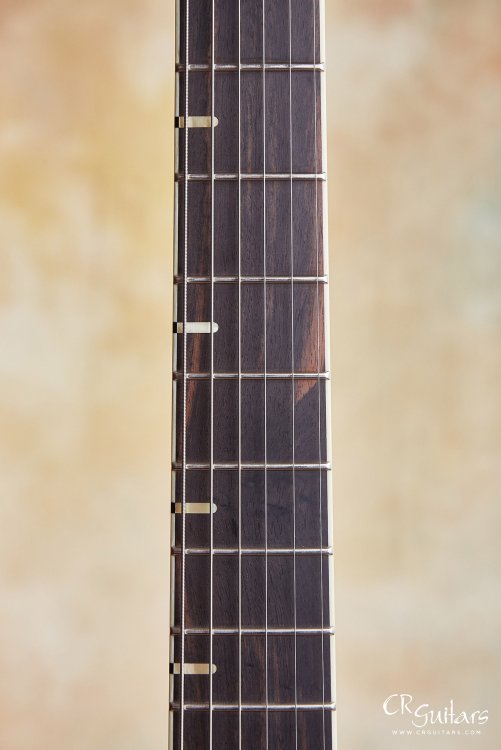
For the fingerboard markers I designed a pattern of pearl bars that emerge from the ivoroid binding on the bass side of the fingerboard and stop just past the A string. For the side markers, I inlaid into the ivoroid binding a half round black dot to continue the pearl shape. It's very three dimensional looking as if a half pipe in pearl and black was inlaid into the side/top of the fingerboard.
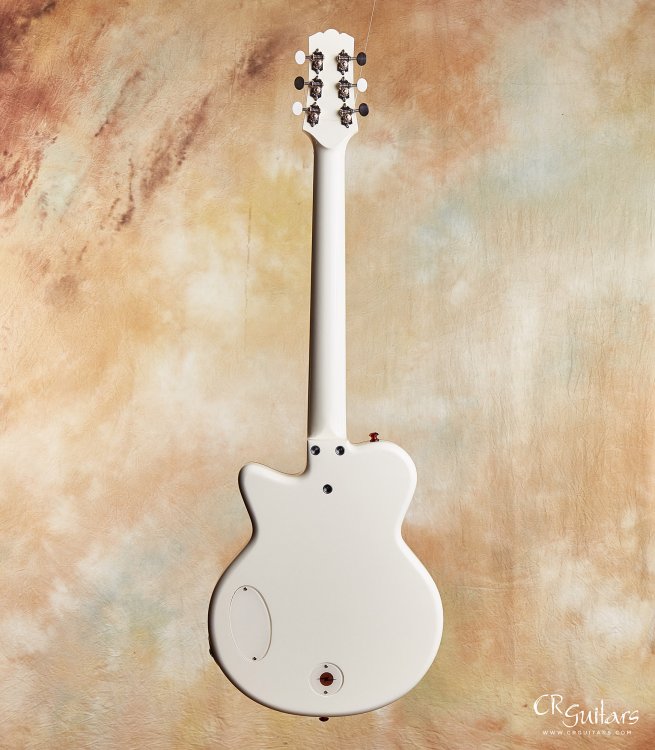
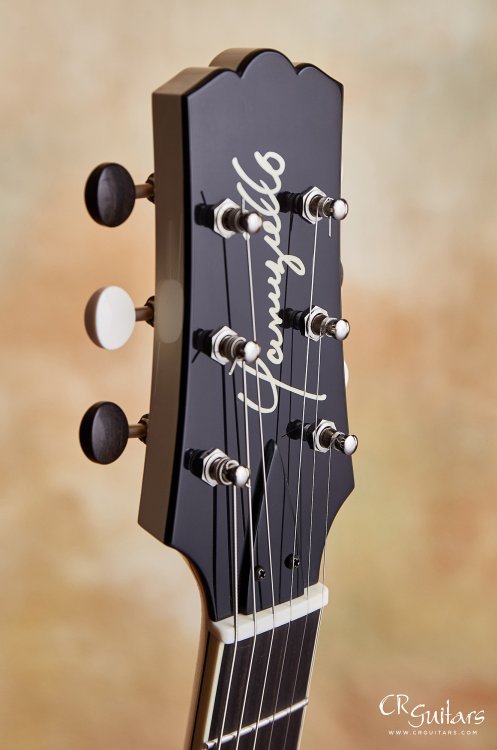
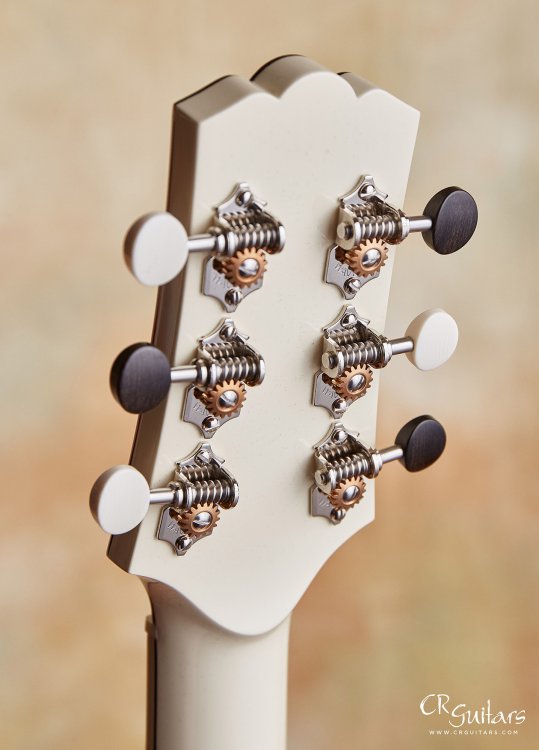
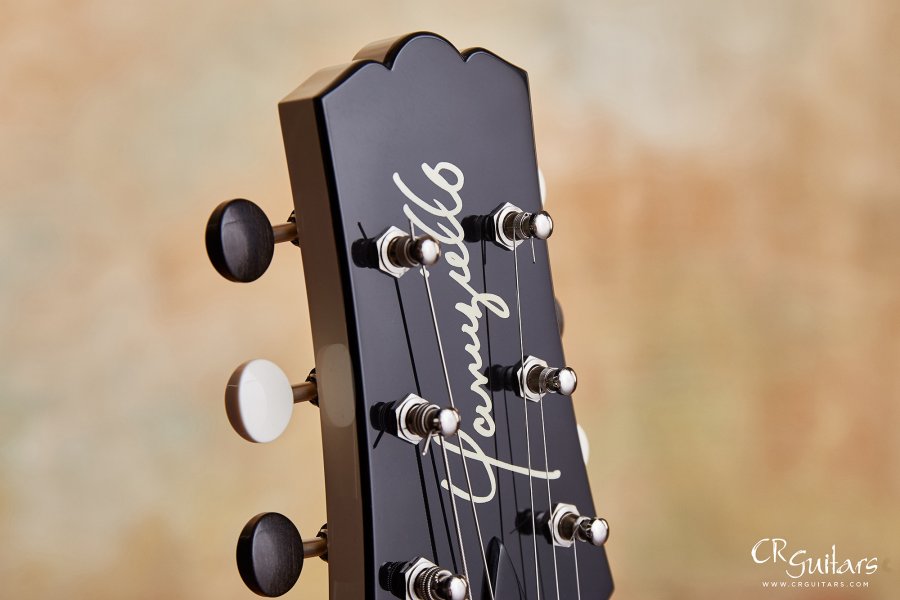
For the headstock, instead of my regular diamond shaped logo, I decided to use Yanuziello in script lengthwise between the tuners. I used my favorite tuners, open back Waverlys, but had the buttons alternating in ebony and ivoroid. So the low E button is black, the A is ivoroid, the D is ebony, etc...
Q - How did decide on the color combination?
A - In the spirit of automobile colors and flashy paint, I wanted to do a two tone finish, which I always do on my electrics anyway. For the Milano series I wanted to a use a sparkle top lacquer color over a contrasting color for the back, sides and neck. This first Milano has a sparkle copper top over a vintage ivory color on the back, sides and neck. There’s a 1/16" black pinstripe lacquered line between the copper and the ivory color on the sides. The headstock on this one is black ebony to match the fingerboard.
Q - You often make all of your own hardware, why did you decide on a Mastery bridge?
A - I first started to use Mastery bridges and vibratos on another series that I've been building for a few years called the Cupcake.
John Woodland's re-engineering and re-design of the bridge and vibrato that are common to offset guitars made by Fender is remarkable. The machine-like aesthetic of the bridge works well with the chrome Mojo pickup grills as well as the overall vibe of the Milano electric.
Q - The pickups are unusual, why did you decide on these Mojo Dual Foils?
A - Kevin asked for them on his electric, the Stella Bella Strada. He sent me some sound clips of these pickups used on a Waterslide guitar and they sounded fabulous. Mojo Dual Foils are wound in the UK by Marc Ransley. He offers many other cool vintage style pickups as well. The Mojo humbuckers have four wires which allows for coil splitting as well as other options to wire them. The coils could be split using push/pull pots, or mini toggles, or another type of DPDT switch.
Q - I'm curious, the lights around the buttons, why are they there and what do they do?
A - Another Kevin request that I've carried over to the Milano series. I had a lot of trouble locating reliable small sized rocker switches to split the coils, and in my search I stumbled on a small push/push DPDT switch which I could modify for my purposes. Two of the pickup wires were soldered onto one side and on the other side I used two terminals for the LED light circuit. When in the up unlit position the pickup is humbucking, when engaged, the light comes on around the button and the pickup is in single coil mode. I was able to cut down the existing switch button and over that I fit my own translucent dark amber buttons. The LEDs are located in a small channel just beneath the pickguard and pointing directly at the button.
Q - The case is a bit different from the ones you usually supply with your electrics.
A - I decided to have a case that's complimentary to each individual Milano. It's the same case that Ameritage has been making for my electrics for years, but I'm choosing custom fabric colors for the exterior and interior of each Milano case.
Q - What's the next one in the series?
A - The next one will have an ice blue sparkle top cap over ivory lacquer, otherwise, similar to this sparkle copper one that you have in stock. After that, perhaps a red sparkle version, who knows, there are so many potential colors I'd like to try. I'm having a lot of fun with this.